Setup Guide for Your Home ASIC Bitcoin Mining Rig
Bitcoin and other cryptocurrencies have been skyrocketing in value over the years, so it’s no wonder that many people are eager to mine these coins. When it comes to Bitcoin, the clear choice of mining technology is an ASIC rig. The difficulty of solving the Bitcoin algorithms has increased to the point where consumer video cards and processors will use too much electricity to successfully produce any return on investment.
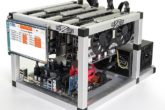
Given your clear choice in this matter, you may have decided wisely to acquire an new or used s9 or 16T ASIC rig of your own to enter the lucrative world of Bitcoin mining. If you’ve never owned a system like this, you will find that the procedure is no more difficult than other types of hardware that you have dealt with in the past. This guide will provide all the necessary information and steps that you need to get your Bitcoin mining venture up and running.
Setup procedure
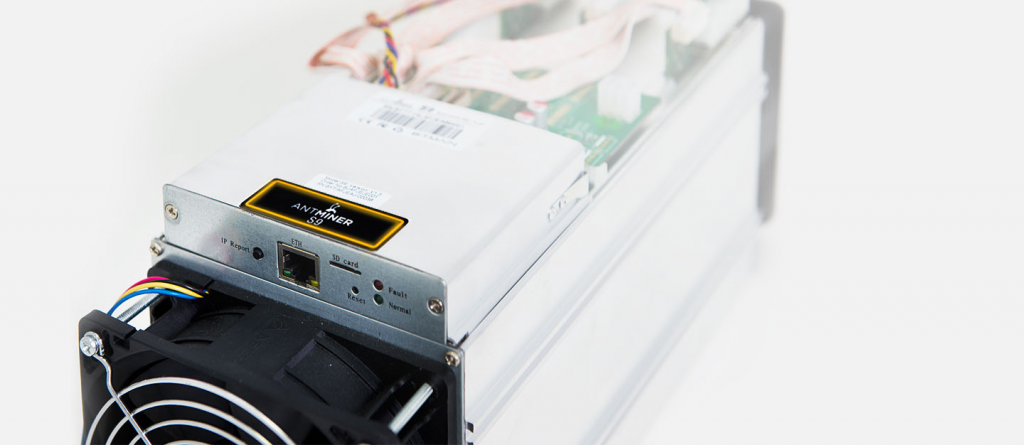
The first thing you should do is make sure you have enough power for your system. Look up the power requirements for your ASIC mining machine because these systems typically require more power than standard computers. A machine such as the AntMiner S9 requires 1275 watts, which is quite a bit. If necessary, you could hook up two or three power supply units (PSU) to give your machine adequate power.
After you have the power set up correctly, the next step is to connect the ethernet cable to your machine. After you connect the network cable, power up the system with the switch on the PSU. Next, connect your desktop computer or laptop to your home network, and make sure the ASIC miner is also on the same network, then enter the IP address of the mining unit. Your miner probably has DHCP enabled, which means that you probably won’t need to enter the IP address manually. If necessary, look up the IP address on the router’s table of addresses or use a scanning app that looks up the mining device.
When you find the address of the mining device on your network, type it into your internet browser, and this will open the login page of your ASIC miner. You should be able to find the username and password in the documentation of your miner. Enter this initially, and change it later if you want increased security. The default password for the AntMiner S9 is “root” for both login fields. In this case, it’s a good idea to change the login to something harder to guess after your initial connection to the interface.
The login will bring you to the administrative settings of the ASIC miner. This is where you will input the mining pool information to enable the machine to begin mining. A popular choice in this regard is the Bitcoin.com Pool. Input the stratum/IP address and your login credentials for the pool. After you save these settings, the miner will begin working.
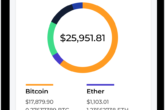
Something to be aware of at this point is that it takes a while for the machine to reach its peak mining speed, also referred to as “hash rate.” This could take over an hour, so wait at least an hour before going to the mining status page to observe your machine’s performance. Some interfaces will only show a brief overview of your machine’s performance. If you want to see how much Bitcoin you’re mining, you will need a live connection.
This covers all the basic steps of getting your ASIC miner up and running. Most of these machines have basically the same setup procedure, but there may be some slight variations between different models. If you have rudimentary technology experience and knowledge, the setup of your machine should be relatively easy for you to accomplish.
After you choose a brand and model of ASIC miner, make sure you refer to the instructions supplied with the unit to ensure that you’re following all the proper steps for that particular model. If it’s a popular model, check online to see if there are any video tutorials that make the whole process even easier to understand. If you’re not completely confident with computer hardware, these resources can be invaluable.
The pros can make life easier
If you find that the setup is more than you want to deal with on your own, there are some other options that you could consider. You could look for a friend or acquaintance who is knowledgeable with computer hardware and networks, and ask them to help you. Most people who are enthusiasts in this area are happy to lend their expertise.
Another possibility, if you can’t find someone to help you, is to look for a colocation host for Bitcoin miners. In this case, you would place your hardware in the facility of a host company where they will take care of the operation and maintenance of the machine. These companies offer a variety of services that provide you with the monitoring and upkeep necessary to keep your mining operation going seamlessly. Of course, with the services and facility usage comes some costs that would exceed the cost of having the hardware in your home.
Before you choose to pay a colocation service to manage your mining hardware, weigh the price against your potential mining earnings to make sure it will be worthwhile. The added convenience could be a boon, but you might also decide that it’s not worthwhile. You might find that a little bit of time spent learning about your hobby could be much more profitable than paying someone else to do it for you.
Whether you want to have mining hardware in your home or in a professional facility, this guide should provide the basic steps you need to get the ball rolling. Cryptocurrency is definitely going to become more prevalent and valuable in the coming years, so now is a great time to start a mining hobby that could grow into a lucrative venture.